run Windows diagnostics provided by the manufacturer
I was able to obtain from the Lenovo site an application called LSC Lite for Windows 10. Apparently, the application, confusingly, has an array of equivalent (?) names:
- Lenovo Diagnostics Tool Lite
- Lite GUI for Lenovo Solution Center
- Lenovo Diagnostics 4.20.1
All of the tests succeeded with the exception of the Battery and the Camera test. As for the batter it is apparently not in pristince condition but I didn't mind that so much as the laptop will be used as a desktop for most of the time. As for the camera, apparently it's not working. I intend to buy an external USB camera and ask Microcenter for a discount.
In the case of the battery I also run Linux battery diagnostics on it (as described here):
sudo apt install fwts
sudo fwts battery
… with these results.
Some other diagnostics-related links I kept in my notes were:
- https://forums.lenovo.com/t5/ThinkPad-T400-T500-and-newer-T/How-can-I-test-the-batteries/td-p/3943852
- https://pcsupport.lenovo.com/us/en/lenovodiagnosticsolutions/downloads
create bootable USB flash drive with 16.04 ISO image
I actually created two flash drives to experiment with different methods
First, I formatted and labelled both USB flash drives to the FAT32 filesystem as described here.
Then, I downloaded from http://releases.ubuntu.com/16.04/ the ISO image
for 16.04.4 (filename: ubuntu-16.04.4-desktop-amd64.iso)
which is described as:
- one with UNetbootin.
- the other with the KDE version of the USB Creator:
sudo apt install usb-creator-kde
sudo usb-creator-kde
(Note that this is the KDE version (not the -gtk version) as advised here.)
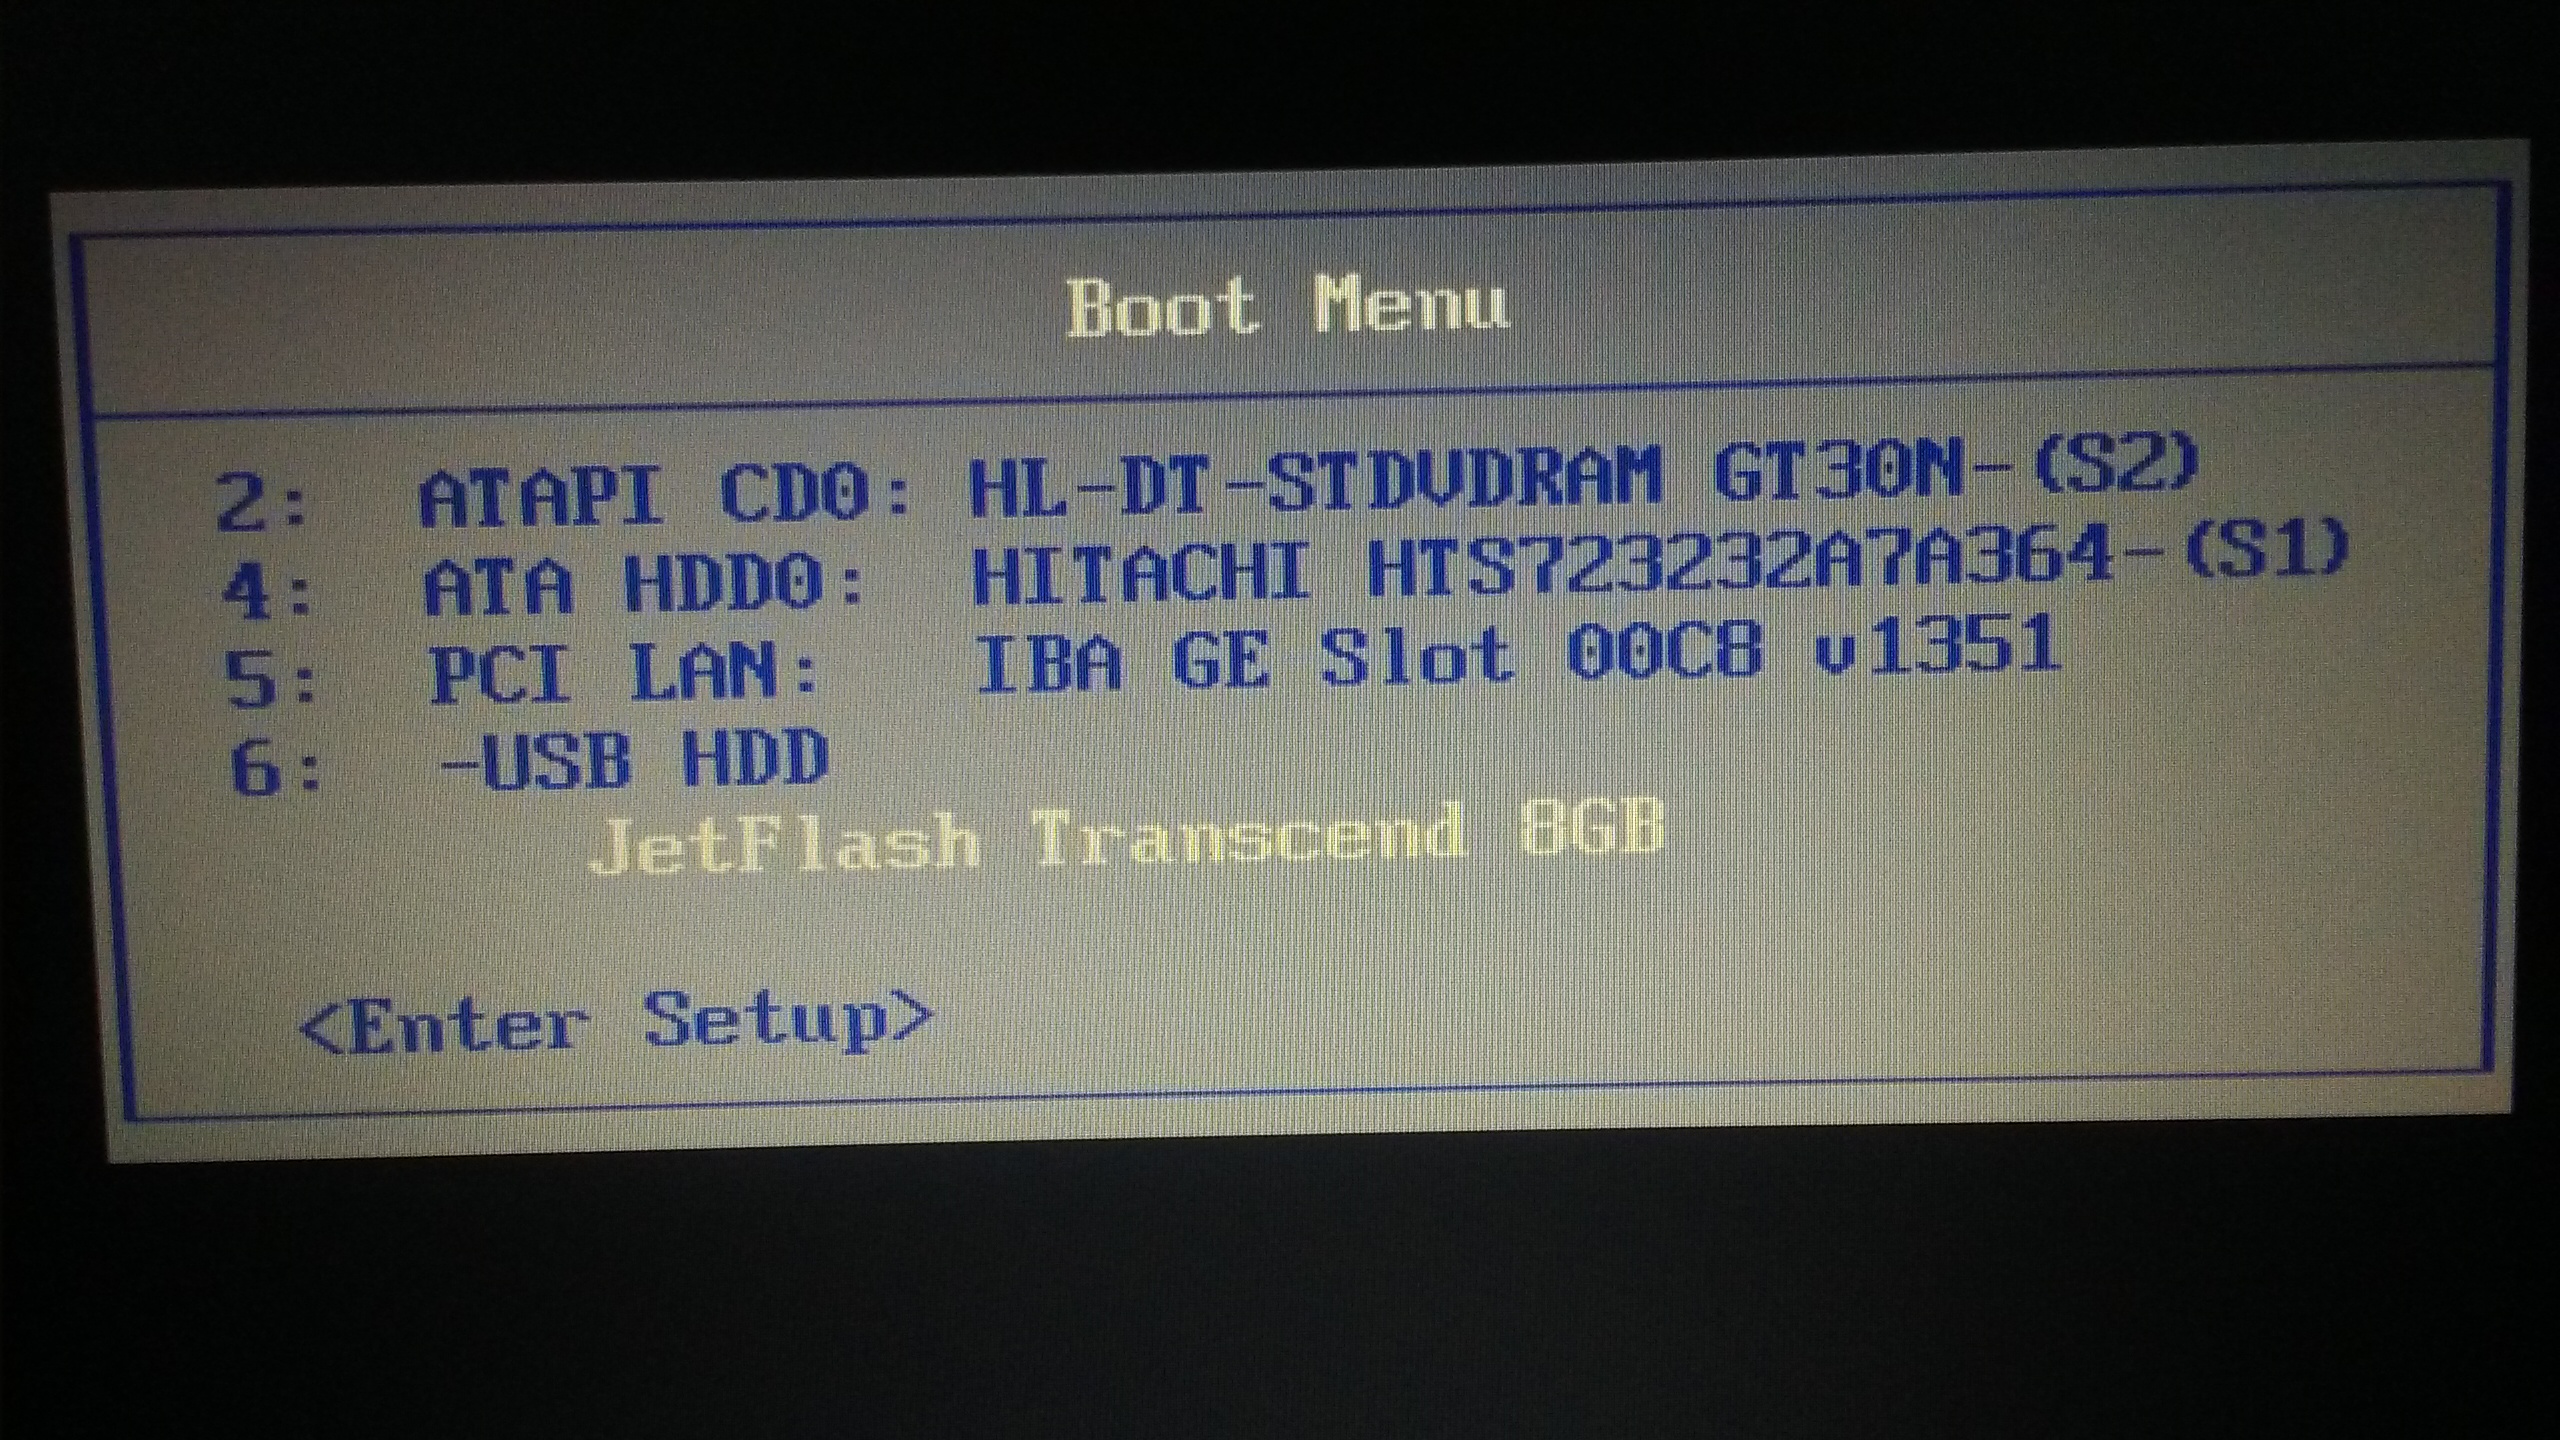
I was able to modify the boot sequence by pressing F12 with no issues and both USB flash drives appeared as options at that point.
The USB flash drive created with USB Creator worked like a charm and allowed me to both run and / or install Ubuntu (either alongside the abomination or replacing it).
However, the one created with UNetbootin wasn't recognized as a valid operating system. That is, even though it showed up as an option on the boot menu, when it was selected I was presented with this screen:
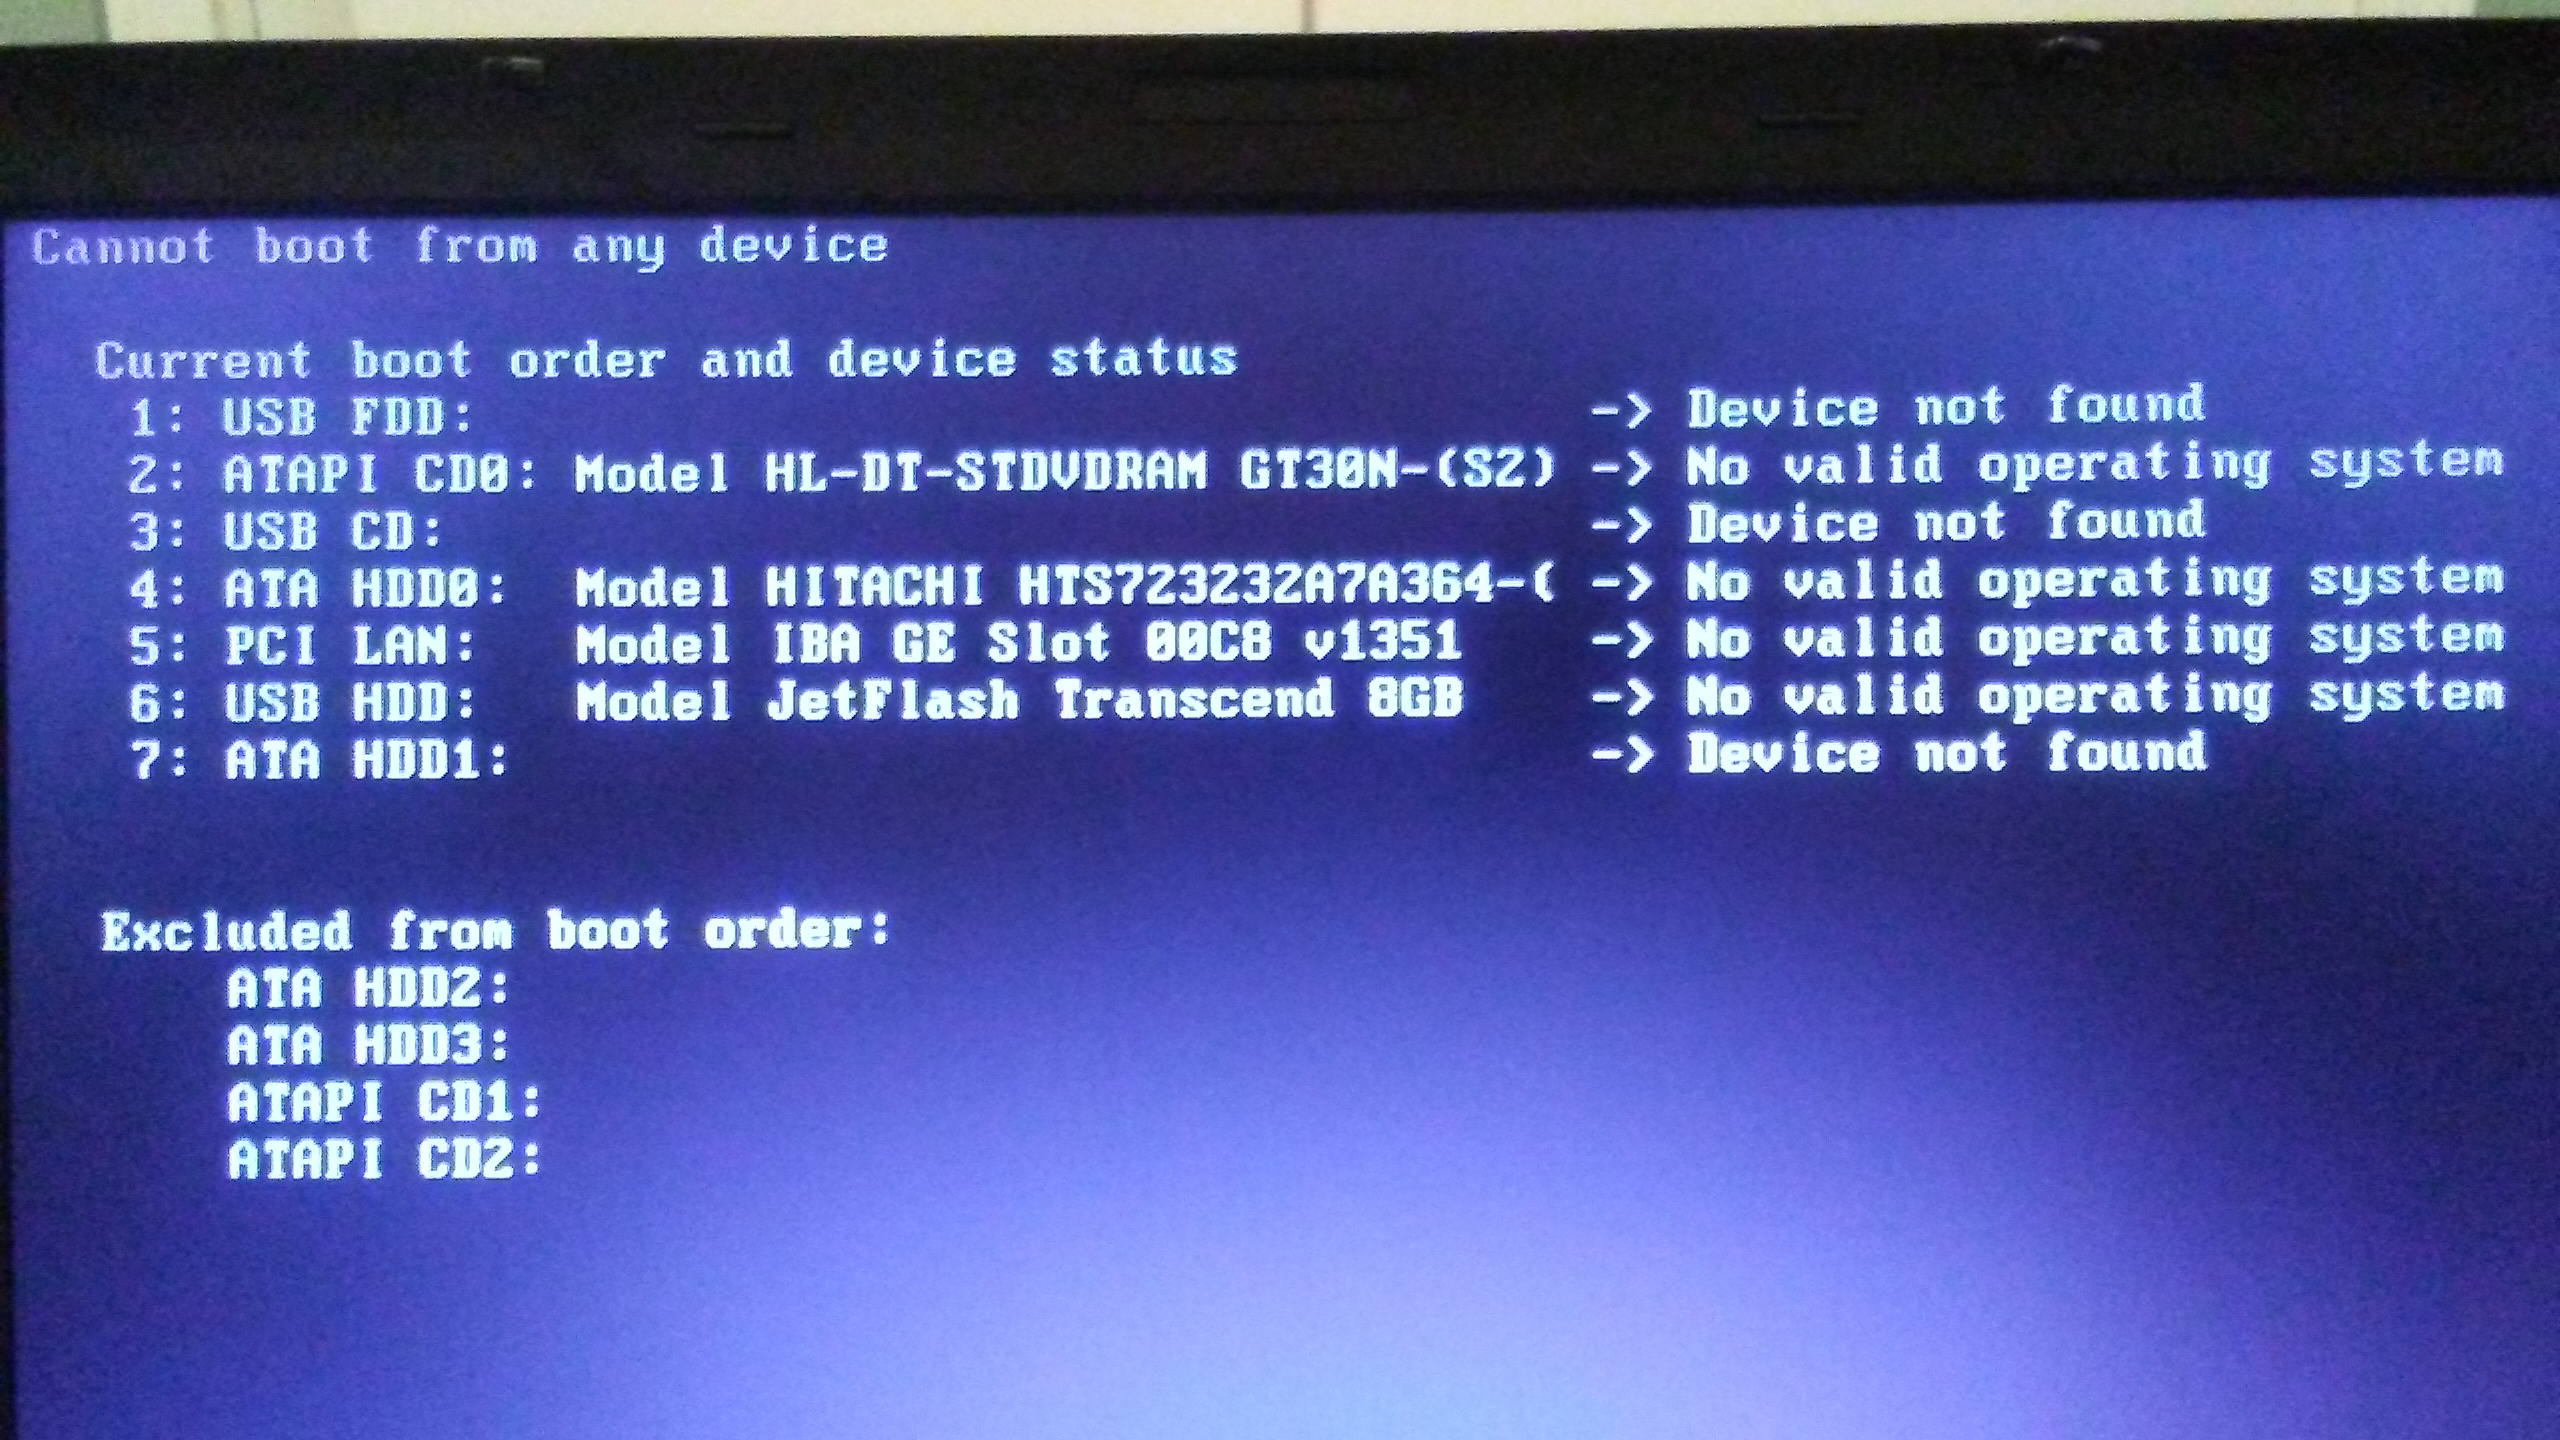
Upon further investigation I came across this post which explains that apparently recent versions of UNetbootin fail to set the boot flag on the device. I checked and verified that I was using one of the recent versions that people reported problems about : 608-1 (this can be discovered by looking at the file /usr/share/doc/unetbootin/changelog.Debian.gz)
To fix this problem I had to set the boot flag on the live Ubuntu USB flash drive that was prepared with UNetbootin:
parted /dev/sdb set 1 boot on… as advised here.
Once the boot flag was set on the device (note that the boot flag is set on the entire USB flash drive device, not on an individual partition), I was able to both run Ubuntu from that drive and / or install it.
Finally note that both bootable USB flash drives (the one created with USB Creator and the one created with UNetbootin — after the boot flag had been set) gave me the option of either installing Ubuntu 16.04 alongside the abomination or wipe the disk clean and only install Ubuntu 16.04.
UNetbootin memory test
Regardless of the installation problem with the UNetbootin-created flash drive, IIRC I was able to perform the memory test that comes bundled with it. However, there was again the usual, expected problem described in the caveat offered here. Moreover, this time it was not clear to me how to "remove some options" (as the previous link advises in the caveat). Instead, what I had to do was to press TAB and then type:
/install/mt86plus
This is advised here (screenshot in case the link goes bad is here).
Following the successful installation of Ubuntu 16.04.4 64bit on the T510 machine, most of the other things I cared to install at that point in time were entirely problem-free. The only thing that I spent quite a bit of time on was how to allow all French accents and diacritics to be inserted using the keyboard.
In the end, after considerable experimentation (in which I also tried some French-language keyboard layouts) I ended up using the "English (international with Alt Gr dead keys)" keyboard layout as advised in this askubuntu.com answer (which references this post on french Ubuntu forums).
Basically, this layout works as follows: The keys to input the characters ', ", `, ~, and ^ become "dead keys" while you hold pressed Alt Gr. After releasing the key combination with Alt Gr, no characters will be printed (hence "dead"), but inserting a letter afterwards will yield a variation of the base character of the letter, in accordance with the dead key you pressed before; for example, `é`, `ë`, `è`, `ẽ`, and `ê` for `e` (respectively). (If you have no explicit Alt Gr key, just use the rightmost Alt key.)
So in summary, using the "English (international with Alt Gr dead keys)" keyboard layout, to insert a symbol:
- press and hold Alt Gr,
- press the modifier key / key combination; e.g., `,
- release all keys pressed so far, and
- press the base character key; e.g., E for `è`.
This method provides a very intuitive way to combine various accents and diacritics with characters (it also enables the `~` used over the `n` in the Spanish word "señor"). The cedila is available with the ALT+, combo as advised here.
In addition to the escape mechanism described above, one still retains four distinct characters / graphemes per key depending on the combination used:
- key alone
- SHIFT + key
- Alt Gr + key
- SHIFT + Alt Gr + key
It should be noted that one of the comments to the askubuntu.com answer given above suggests using "US internation [sic] with dead keys"
(no Alt Gr in the description). I experimented with that keyboard layout as well but found no way to enter those dead keys (` " ^ ~ ').
In contrast, in the "
Finally note that I have four characters per key even though I left the keyboard settings (under typing) in the default position (i.e. Compose Key: Disabled, Alternative Characters Key: Disabled) — it's a bit confusing that this still works even though the "Alternative Characters" key appears to be disabled but it's working nonetheless and I am happy to leave it at that.
I installed Skype following the instructions from here:
$ wget https://repo.skype.com/latest/skypeforlinux-64.deb
$ sudo dpkg -i skypeforlinux-64.deb
$ sudo apt install -f
Actual trace is here.